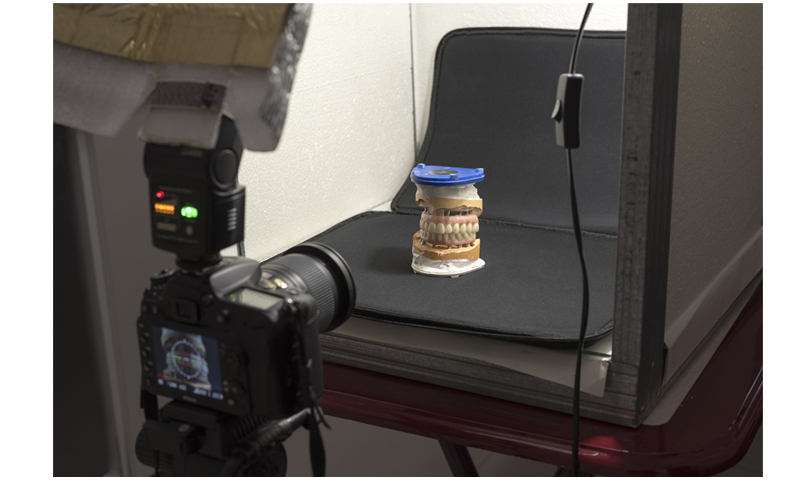
This photo shows a homemade lightbox and reflector, a Nissin di466 pulsed light source, a Nikon D7100 camera + a Nikon 60mm f / 2.8g ed af-s micro-nikkor lens, a modeling light button and a fabric background. This is how dentures are taken.
A lot has been written about shooting objects — books, articles and video footage. In this article I will share my experience.
Any photography starts with an idea. In order to better convey the idea in photography, special expressive means are used: lighting, tonality, color, point and moment of shooting, plan, foreshortening, as well as pictorial and various contrasts.
Any good photograph should have a certain main object, sometimes it is called a semantic or subject center. When constructing a frame, you need to monitor the location of the semantic center, using the so-called «rule of thirds» (using the link «rule of thirds» we find this rule in the text).
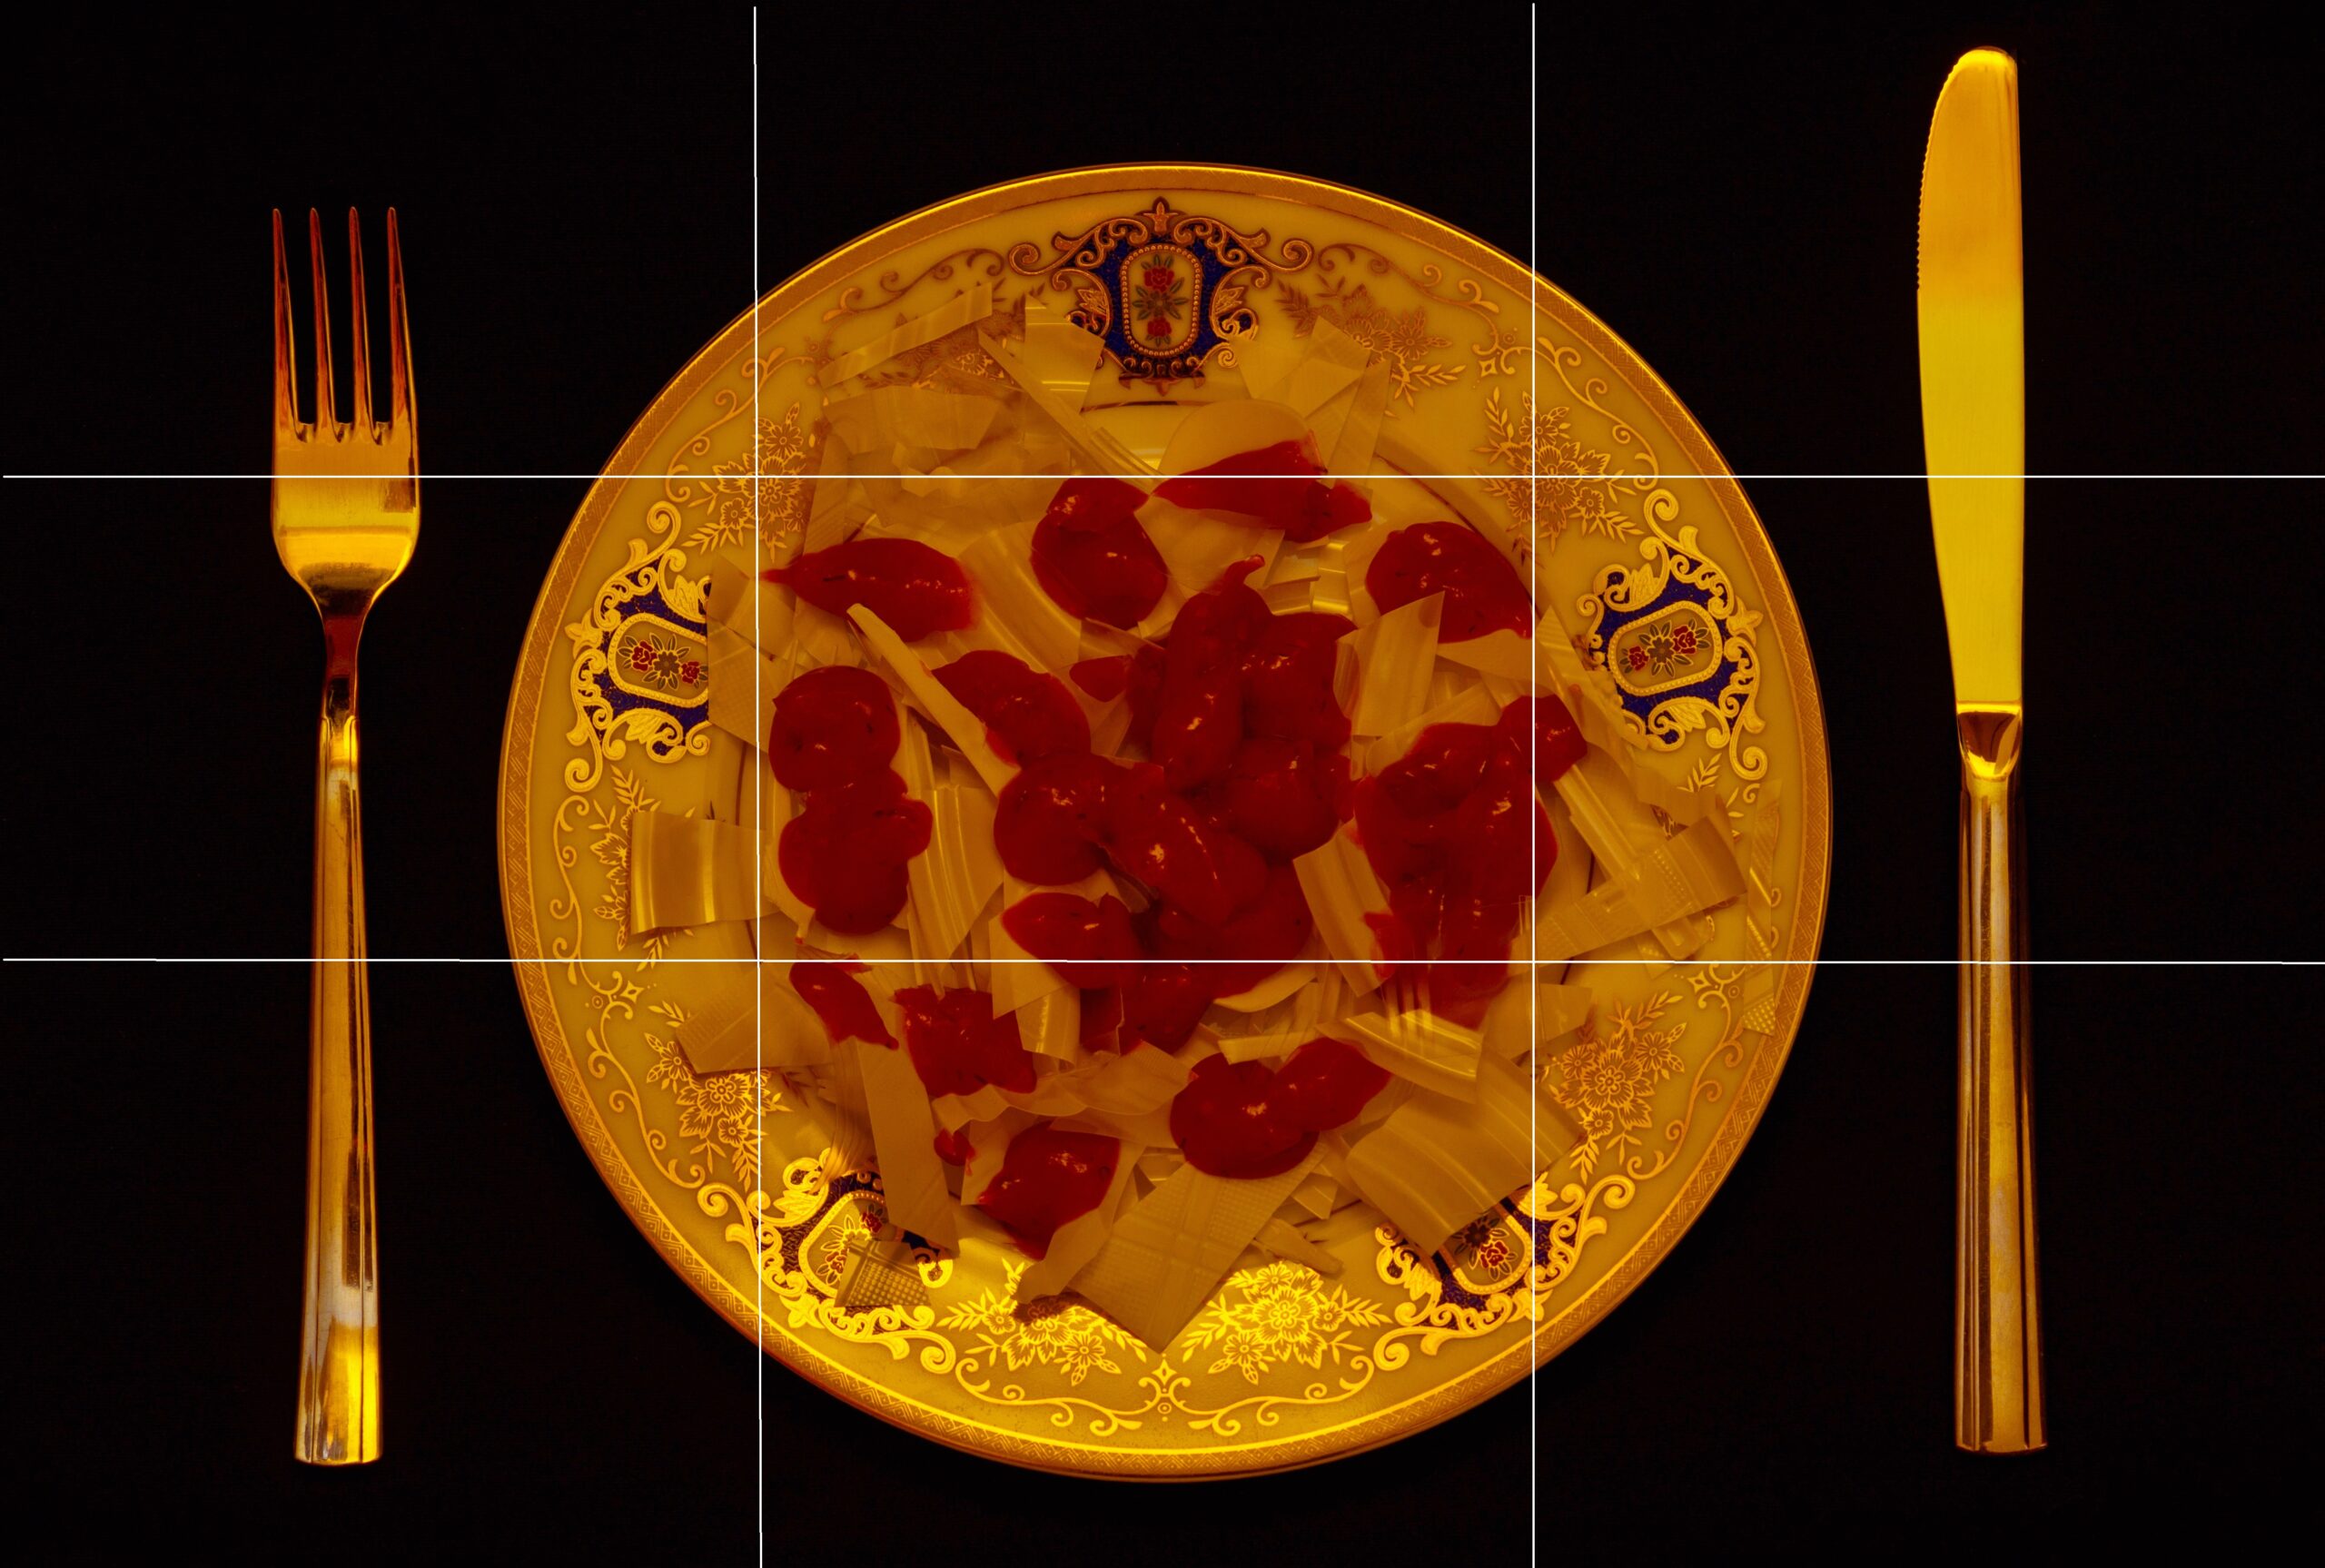
In this photo (social photo), a plate with finely chopped plastic and watered ketchup is in the «semantic center».
When shooting subject, light is often not enough, so additional sources should be used. The light source can be either permanent or pulsed. You can also use a large window. When using simple lamps rather than pulsed light, it is best to use lamps of the same wattage and color temperature. It is better to use the most powerful lamps. This will make shooting easier.
I mainly use Nissin di466 flash light source. There are also two constant light sources. In dental photography, I use one constant light source as a pilot light, and a pulsed light source as the main one. The light used is hard. To soften it, various modifiers are usually used: white sheet of paper, fabric, softbox, stripbox, frostrama, reflectors, etc. Most often I use a Fujimi fgfs-23 softbox or a homemade reflector for an external 34x30cm flash (it is double-sided — one side is gold, the other is silver). It all depends on the shooting tasks.
To arrange objects (subjects) shooting, use a table or lightbox for subject shooting. If not available, any flat surface can be used. I am using a homemade lightbox (H-60cm x B-50cm x L-50cm).
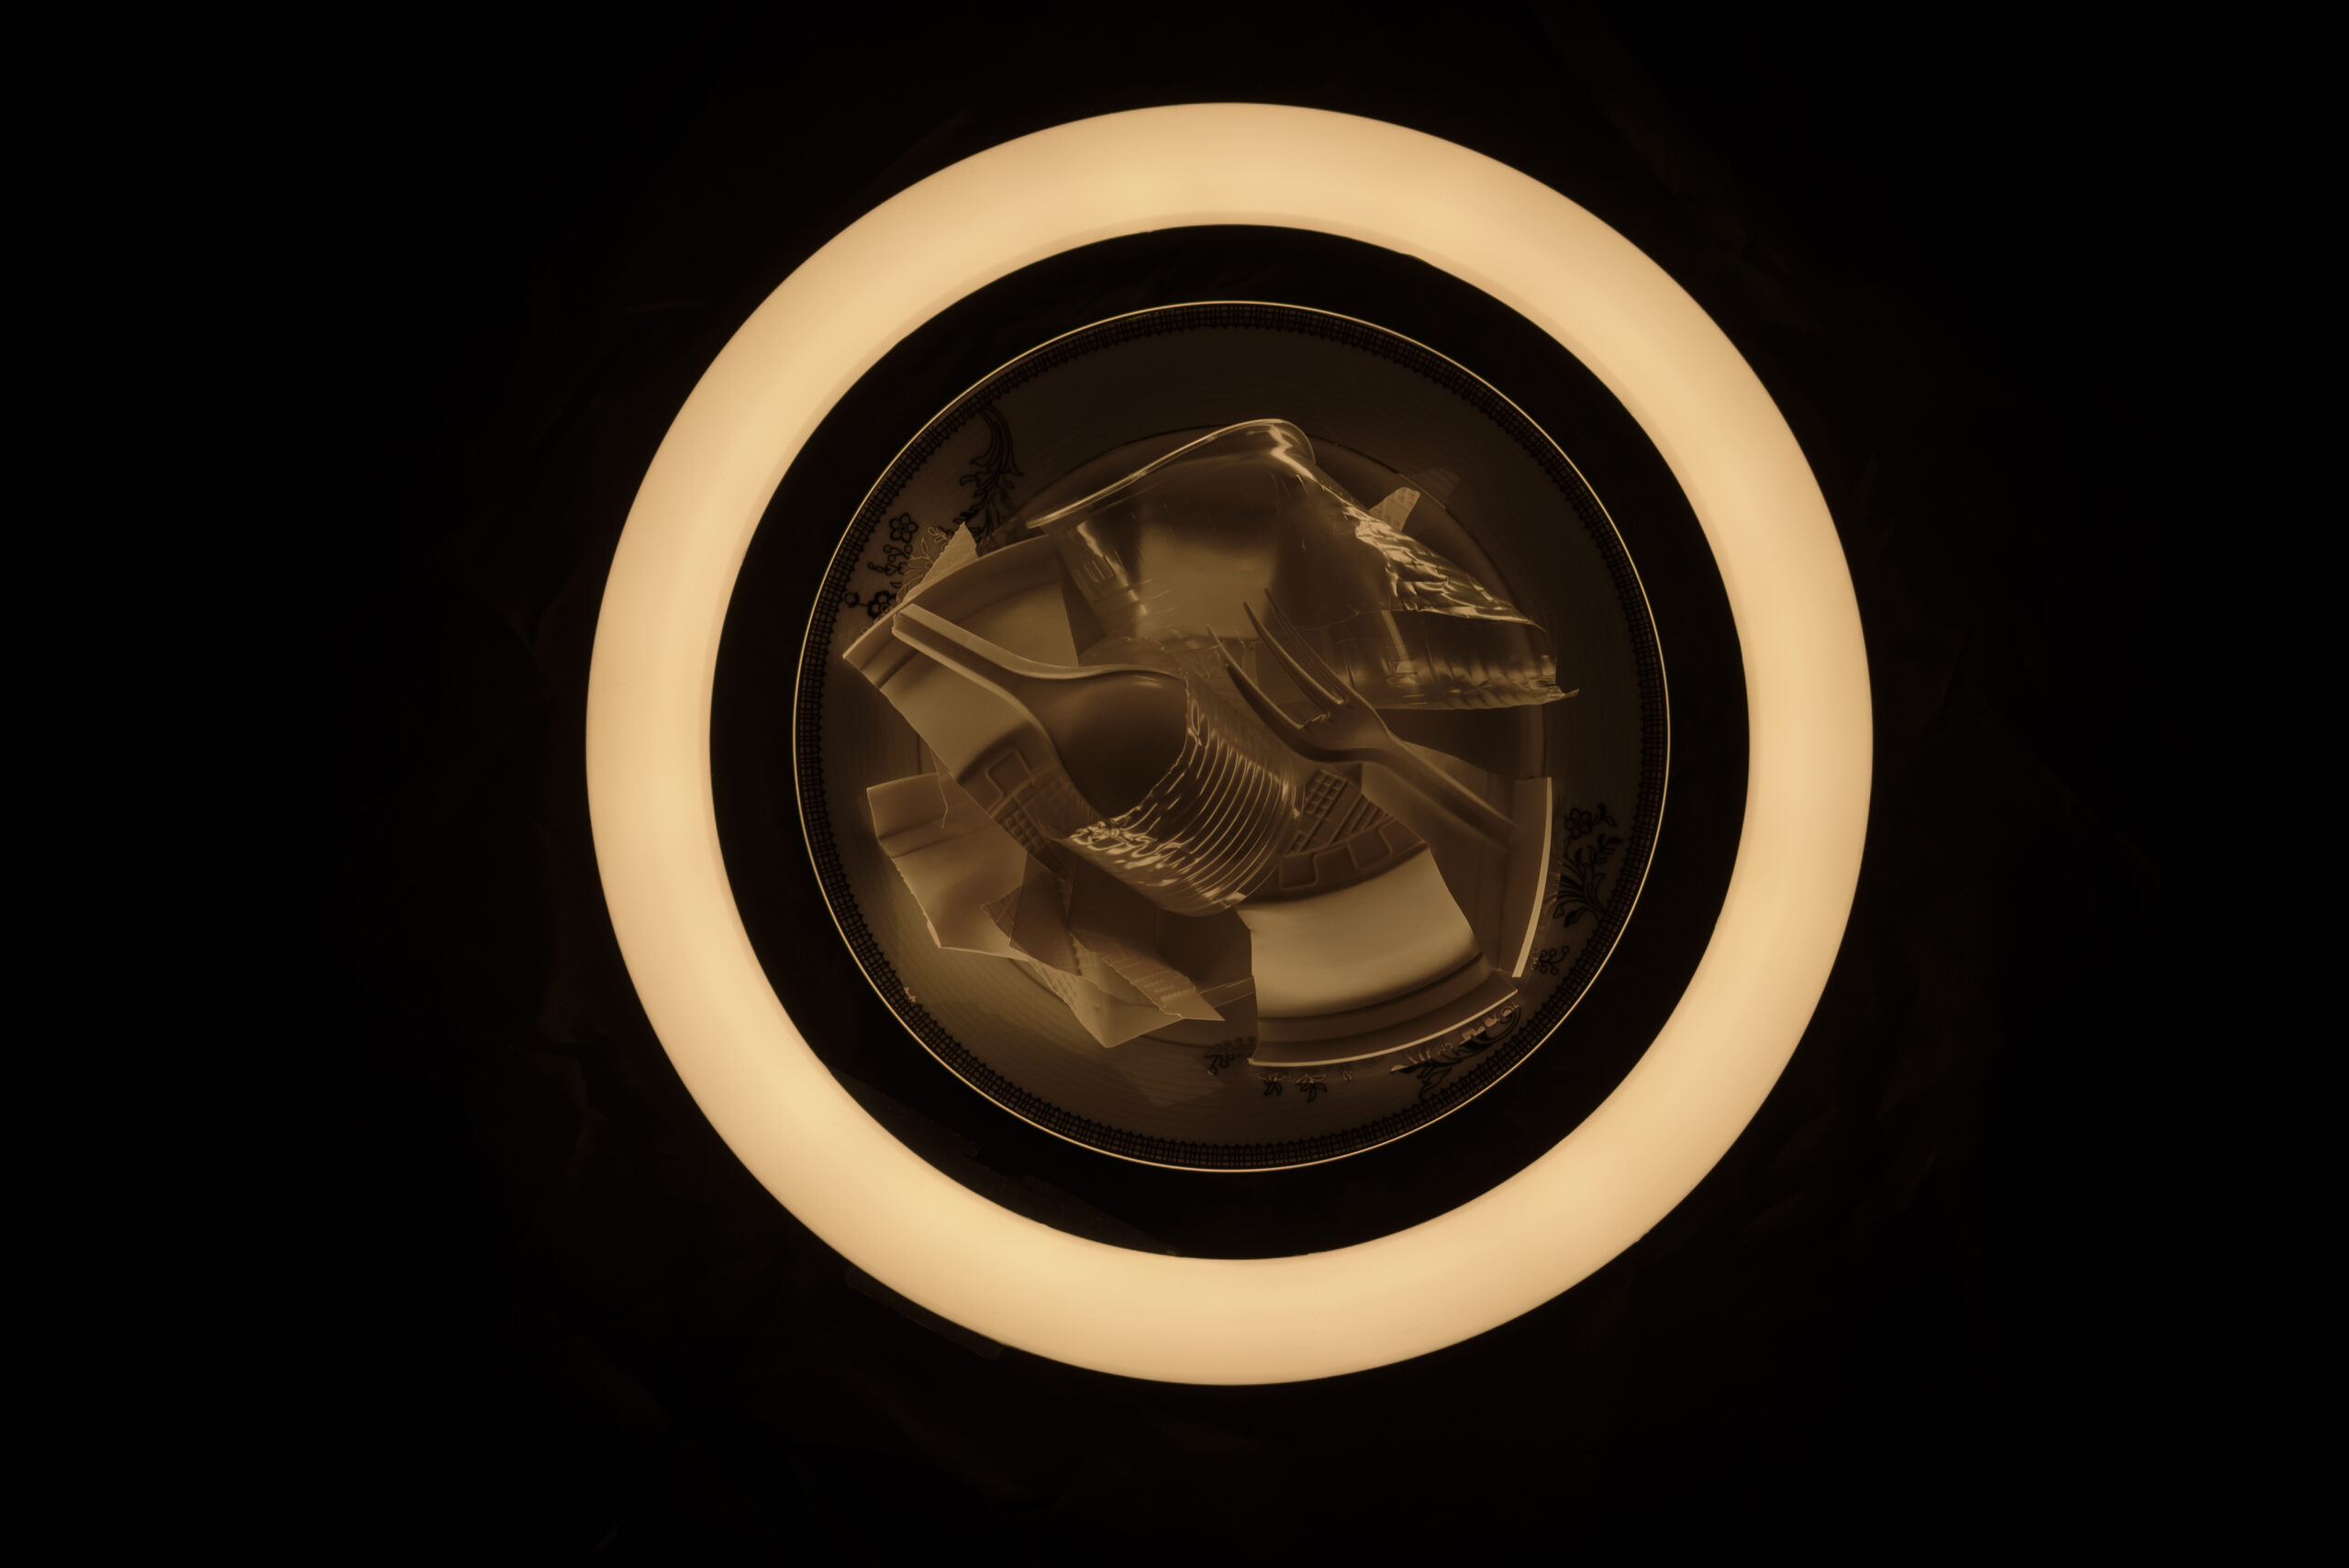
Subjects are generally shot against a uniform background. Most often used paper, fabric, acrylic. The background color is usually white or black. A light object is shot against a dark background, and a dark object against a light one. The use of colored backgrounds is also possible. Here everything also depends on the shooting tasks.
Shooting is performed on a DSLR or system camera. For social media, you can shoot with your phone. When shooting, use macro and telephoto lenses. Shooting a small object — we use a macro lens, and a rather large one — a telephoto lens. A tripod and a remote control are used to prevent shaking (shaking). If there is no remote control, then turn on the shutter delay timer. Shooting a small object — we use a macro lens, and a rather large one — a telephoto lens. A tripod and remote control are used to prevent shaking. If there is no remote control, then turn on the shutter delay timer.
I began to take the first pictures with a Nikon D90 camera and a Nikon 55-300 mm f / 4.5-5.6g ed af-s vr dx lens. Now I use a Nikon D7100 camera+ a Nikon 60mm f / 2.8g ed af-s micro-nikkor lens and a Nikon D750 camera + a Nikon af Nikkor 70-210f / 4 lens. I also use various tripods and an infrared remote control. When shooting, I use manual mode. The shutter speed is usually 1 / 160-1 / 200, and the aperture is F / 10-F / 25. All parameters also depend on the shooting tasks. The shooting format is jpg + raw.
In the editor, you can fix many flaws in shooting: incorrect white balance, cropping, low contrast, etc. But an incorrectly exposed frame is more difficult to correct. Therefore, you need to strive to get good personnel. A good photo should attract the viewer.